
How to Set Up a Small Vocal Booth (Without Killing Your Sound)
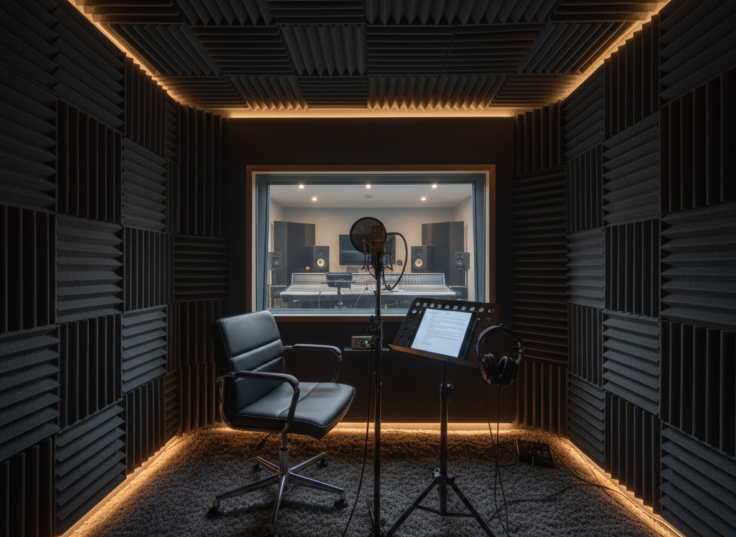
Getting a good vocal sound starts long before you hit record. If you’re working with a small, ready‑made vocal booth — around 4 x 5 feet with a 7‑foot ceiling — chances are you’ve already heard plenty of conflicting advice.
Some people will tell you to cover every surface with four‑inch acoustic foam. Others will insist that two‑inch foam is better, warning that thicker foam will make the booth sound too dead and force you to add loads of reverb later.
So what’s the right answer?
As with most things in audio, it depends.
What Are You Actually Trying to Fix?
In a small vocal booth, you’re not really dealing with “reverb” in the traditional sense. The space is simply too small for that. What you are dealing with are early reflections — sound bouncing straight back off the walls, ceiling and door and straight into the microphone.
The goal isn’t to make the booth completely lifeless. It’s to reduce reflections so your vocals sound clean, controlled and natural, without odd resonances or boxy tones.
For that to happen, sound needs to be absorbed fairly evenly across low, mid and high frequencies. This is where many small booths fall short.
Two‑Inch Foam vs Four‑Inch Foam
Acoustic foam is great — within limits.
- Two‑inch foam does a decent job of absorbing higher frequencies, roughly above 2–3 kHz.
- Four‑inch foam works a bit lower, becoming effective from around 1 kHz upwards.
What neither option does particularly well is deal with mid and low frequencies. That’s important, because vocals can have fundamentals down to 100 Hz or lower.
If you cover a small booth entirely in foam, the usual result is:
- Very dead‑sounding highs
- Boomy, boxy and uncontrolled mids and lows
In other words, the exact opposite of what you want.
Why Booth Construction Matters So Much
This is the part that often gets overlooked.
The biggest problem in small vocal booths isn’t a lack of foam — it’s a lack of low‑frequency control. And that has far more to do with how the booth is built than what you stick on the walls.
In professional studios, vocal booths may look compact on the inside, but the walls are often much thicker than you’d expect. That extra depth allows for proper bass trapping, which helps absorb low‑frequency energy instead of letting it bounce around the room.
Many ready‑made booths use lighter, semi‑flexible wall constructions. These can help absorb some low end, but how effective they are varies massively from booth to booth.
That’s why there’s no one‑size‑fits‑all answer when it comes to foam thickness.
The Myth of the ‘Too Dead’ Booth
When people complain that a booth sounds too dead, what’s usually happened is this:
- The highs and upper mids have been over‑absorbed with foam
- The low end hasn’t been controlled at all
This can make the booth feel uncomfortable to perform in and can lead people to start adding reflective surfaces to “bring it back to life”. Unfortunately, that often just creates harsh reflections and an unpleasant, bathroom‑like sound.
The solution isn’t to reflect more high frequencies — it’s to control the low end properly first, then treat the highs in a balanced way.
So What Should You Do?
Before deciding whether to use two‑inch or four‑inch foam, you need to know:
- How the booth walls and ceiling are constructed
- Whether they offer any built‑in low‑frequency absorption
- How much bass trapping is already part of the design
Once you understand that, you can make a sensible decision about how much foam to use — and how thick it needs to be — without overdoing it.
In practice, this usually means having a proper conversation with the booth manufacturer or supplier, rather than relying on generic advice.
Acoustic foam is a useful tool, but it’s not a magic fix. In a small vocal booth, getting good results is all about balance.
Get the booth construction right, control the low end as much as possible, and use foam to tidy up the highs — not to smother the space completely.
Do that, and you’ll capture clean, usable vocals that sit beautifully in a mix, without fighting boxy resonances or relying on heavy processing later on.